Article Date: 12th December 2012
The purpose of this document is to illustrate how to burn an IMG or ISO file to a DVD. The instructions that follow assume that you have already downloaded the academic software from e-academy (e.g. Windows 7 or Visual Studio). This means that you already have the IMG or ISO file on your computer ready to burn.
IMG and ISO files are images of a disk containing all files as well as boot files necessary for automatically launching the installation wizard. These files need to be burned to a disk specifically as an image, instead of a ‘data’ disk, which will extract the IMG or ISO into the required setup files. By burning the file to a disk as a data disk, you will simply end up with a .img or .iso file on the disk, which cannot be used for the installation.
A free disk burning program, Active@ ISO Burner, is available by NTFS.com that will allow you to burn ISO or disk images (.img) to a disk.
The steps you will find in this section are:
Downloading the CD/DVD Burning Software
If you do not already have an application to burn files onto a DVD, you will need to download a freeware version. Following are the steps to download a version that e-academy recommends. If you choose to use a different application, follow the steps for that application.
To download the software:
Go to http://www.ntfs.com/iso_burner_free.htm.
In the Active@ISO Burner box, beside IsoBurner-Setup.exe, click Download.
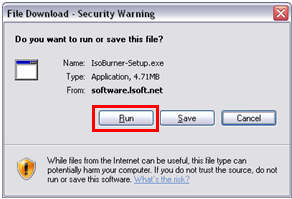
In the File Download – Security Warning box, click Run.
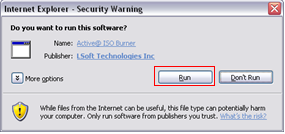
In the Internet Explorer – Security Warning box, click Run. The download begins.
When the Active@ISO Burner – InstallShield Wizard Welcome page opens, click Next.
Accept the license agreement by clicking the radio button beside I accept the terms of the license agreement.
Click Next.
In the Setup Type window, click the radio button beside Complete.
To finish the installation, click Next. The file is downloaded to your computer.
You can now burn a DVD.
Burning the DVD
Launch burning software
The instructions below use Windows 7 as an example, therefore, some steps may be applicable only to Windows 7 (i.e. choosing 32 or 64-bit versions). Windows 7 is distributed as an IMG file.
To find the location of the downloaded file that you wish to burn onto a DVD:
Click Start.
If you are running Vista, click Programs. If you are running XP, click All Programs.
In the list of programs, click Active@ISO Burner. The program is launched.
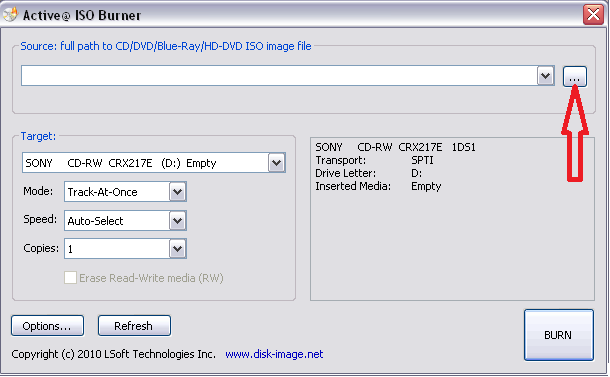
In the Active@ISO Burner window, click on the locator box as shown by the red arrow.
Find and select the previously downloaded IMG file from e-academy.
Note: Frequently files are downloaded to C:\temp.
There is a 32-bit or a 64-bit folder. Choose the option that suits the current Operating System of your computer by double clicking the folder name. The Open CD/DVD ISO Image File window opens.
If you do not know if you need 32-bit or 64-bit, see http://windows.microsoft.com/en-ca/windows-vista/32-bit-and-64-bit-Windows-frequently-asked-questions.
<i
In the Files of type drop-down list, select the CD/DVD Image File(*.img) option. The .img file is displayed in the window. If you wish to burn an ISO file, choose CD/DVD ISO image (*.iso) option.
Double click on the file. The Active@ISO Burner window is displayed.
Burn the DVD
Make sure you are using a DVD and not a CD. Also, make sure that you can burn a DVD. A DVD burner is required to install the software. CD Burners will not work with this process.
To burn the DVD:
Place the blank DVD into the DVD drive.
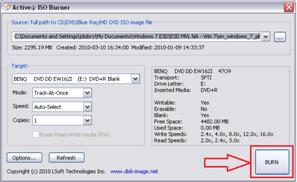
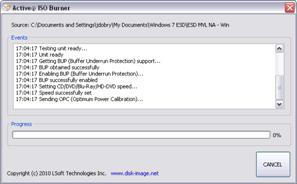
Click Burn. The progress of the burn is displayed near the bottom of the window.
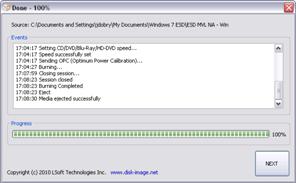
When the disk is ejected, click the red X at the top of the window to close the program. Note: You now have a copy of the software and are ready to install it.